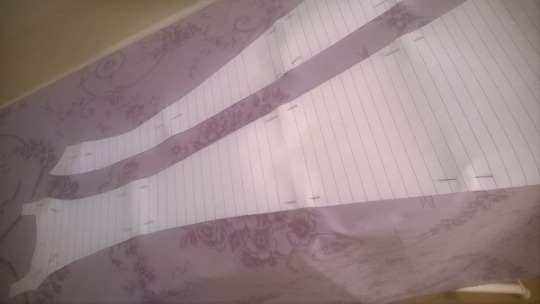
As with any piece of clothing you start off with making a pattern and pin it to your fabric.
I know that the side pieces are a bit too long but that will be adjusted once they are sown together.
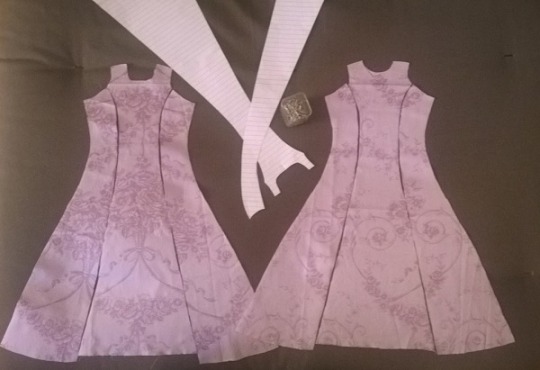
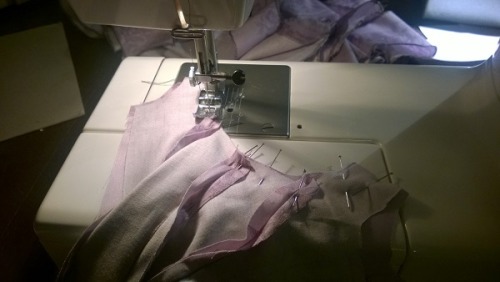
To keep everything in order I put all the front and back pieces together with needles, also a great way to see how it will get to look all stitched together.
Getting those sewn together you can really get to admire the pattern. Had I had more that one yard to do with I would really have done everything I could to have the pattern be on point consistent. BUt this isn't all that bad either when half of the bottom of it will be covered up by ruffles anyhow.
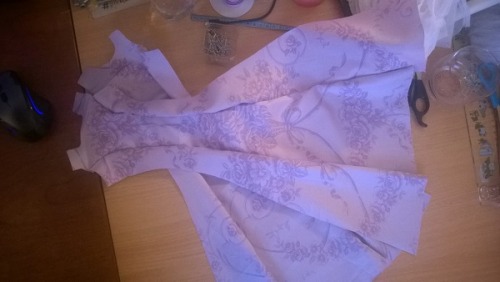
Here I am adding, what would that even be called, well, a piece of fabric at the top of the dress, here sewing around the arm opening. Afterwards I would sew the shoulders for to then able folding that piece of added fabric to make some clean arm openings. I hope this makes some kind of sense >>
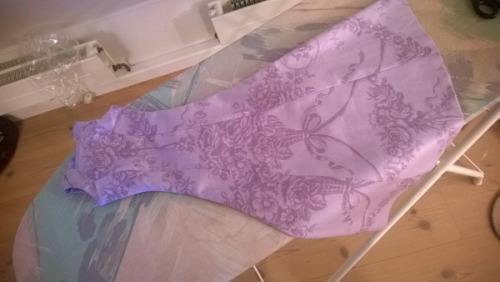
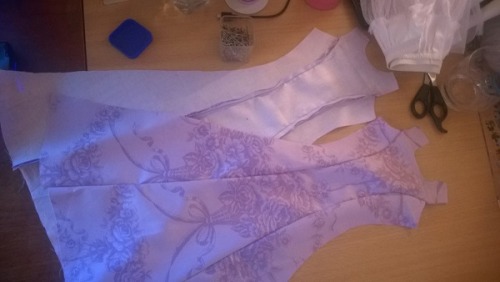
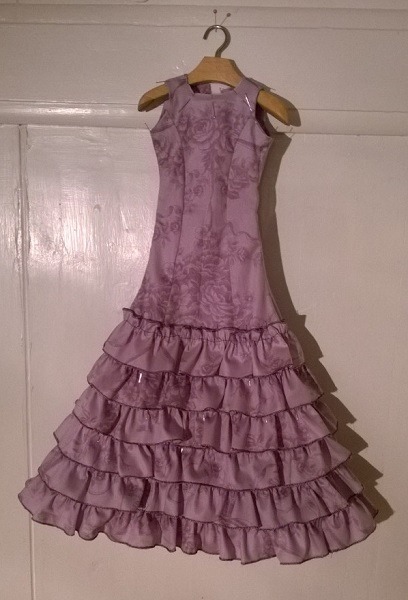
Anyway, that done this is the result. The collar still needed to be closed up and all of the edges inside the dress needed hemming along with the bottom of the dress. Then ruffles needed to be made and attached, a zip to be sown at the back of the dress, the collar to be closed up, and an a-line tulle skirt to help keep the shape of the dress some.
Sadly I have no progress of this one, but I wanted there to be a jacket of sorts. Something looking like the one going with the original fer dress. Didn't really stick to that as it soon took on a life of it's own.
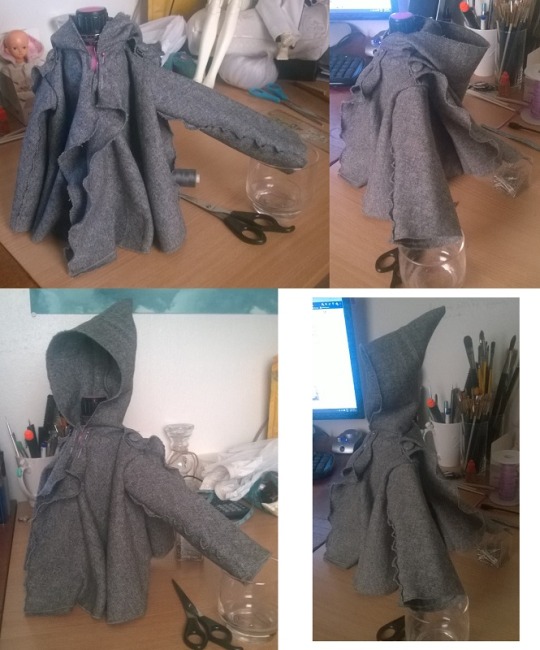
Everything is made from an old second hand woolen skirt. The hood from the waist part of the dress and everything else was the skirt part. I didn't use any patterns but what my head could conjure when I cut the fabric. I once saw to fit the main part of the jacket and once for the hood, else not. I'm amazed how it turned out really.
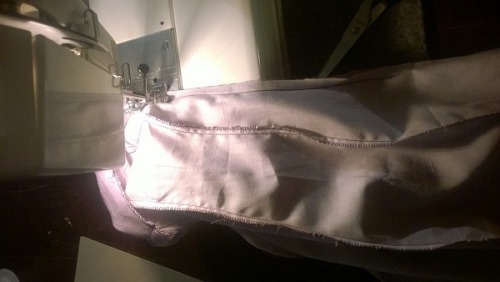
So, the seams on the inside of the dress needed hemming which was the first thing I did sitting down in front of the machine.
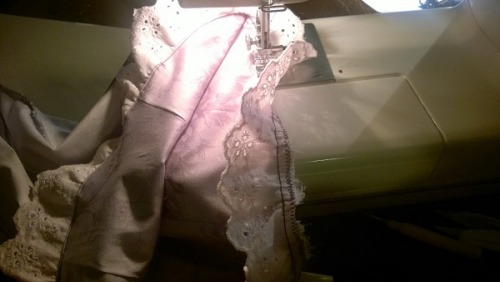
Thought adding some lace at the bottom of the dress would be a neat little detail even though it would end up being covered by ruffles.
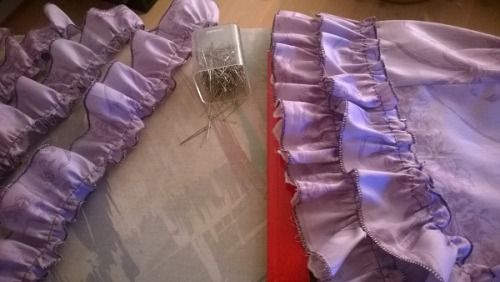
All them pretty ruffles, one dayer after the other..
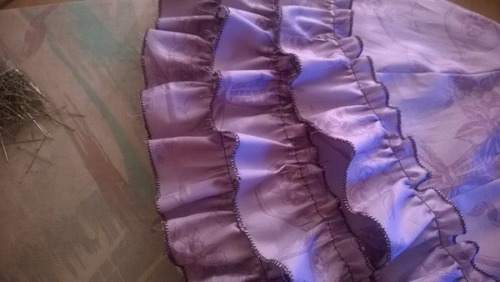
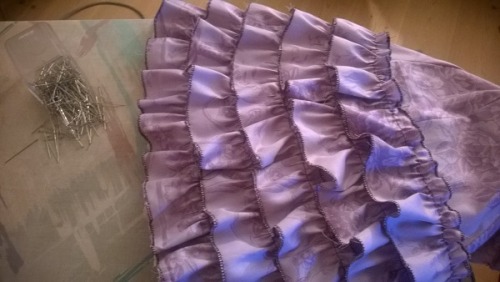
Until almost finished. Didn’t have near enough from the ruffles I had already made but had some spare fabric and everything worked out in the end.
And it got to look a little bit like this. The arm holes and collar had yet to be sown shut and it needed a zipper in the back.
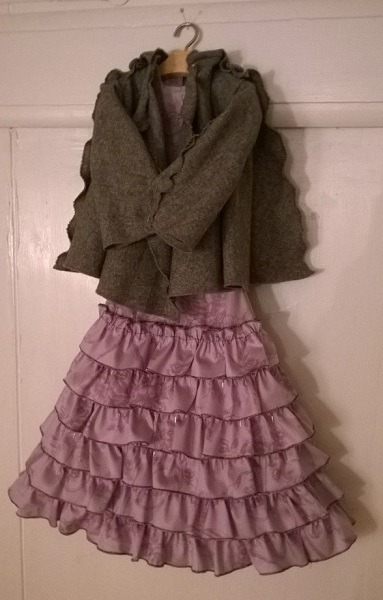
And one to see how it would look with the wool jacket on top which here still needed a snap attached and some ribbon at the hood to be able closing it up some. Absolutely amazing if you ask me!
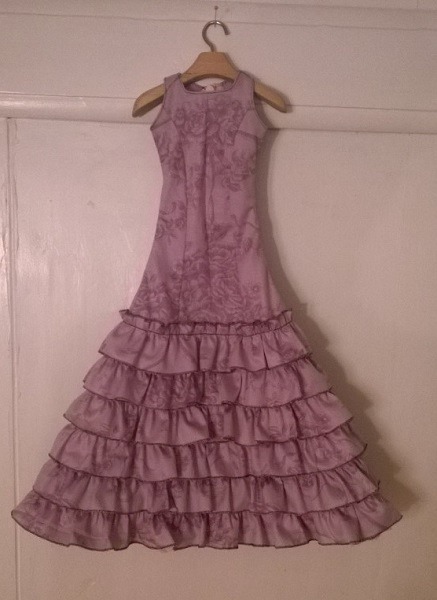
Having sown the ruffles onto the skirt along with adding the zipper in the back and closing the collar and armholes it got to look like this
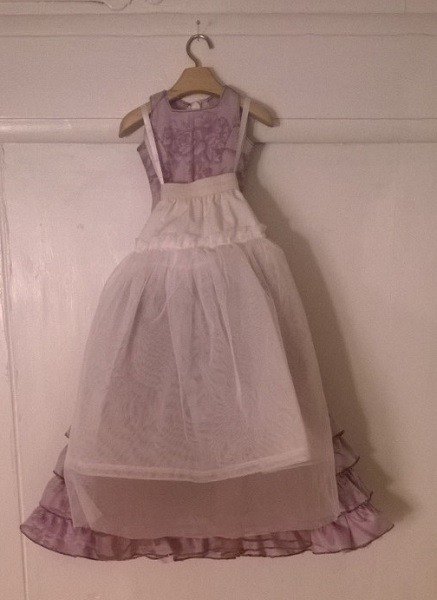
And the tulle petticoat which I have no progress pictures of as it was made on a whim.

And everything ready for the morning where I hope the weather will allow for me to go outside and shoot up a couple pictures showing all of this off properly. I can't believe I actually made this, I'm amazed at my own skill and how I've improved, totally wowing myself.
Anyway, this adventure took me some 25-30+ hours to put together in it's entirety. Hope you enjoyed!


No comments:
Post a Comment