2015/12/29

Doll Goals 2016

As the year 2015 is fast coming to an end I thought I would write down goals for the coming year of 2016. Will be fun to see how much I will get around to finishing of all that is to be either bought or sewn, but I'm up for the challenge.

Riku
  • Get some brown urethane eyes, his eye real colour being this colour and now cobalt blue. I hope being able getting home a pair from Vings whenever they open up shop again.
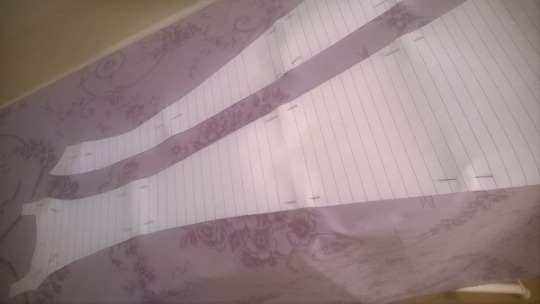
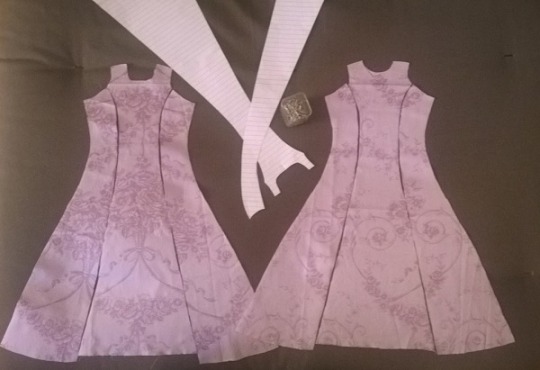
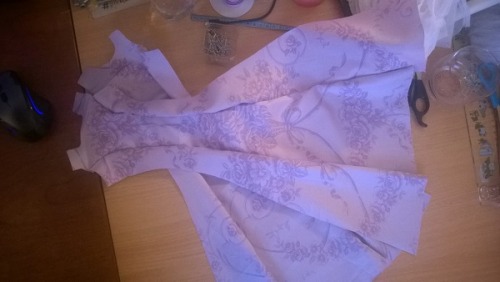
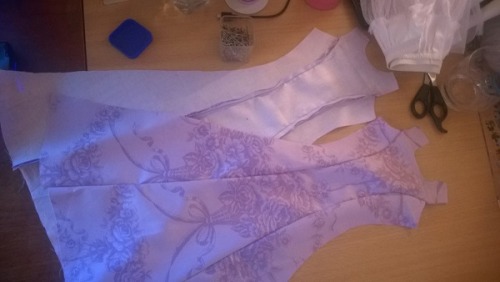
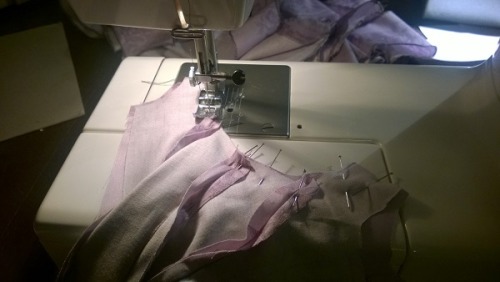
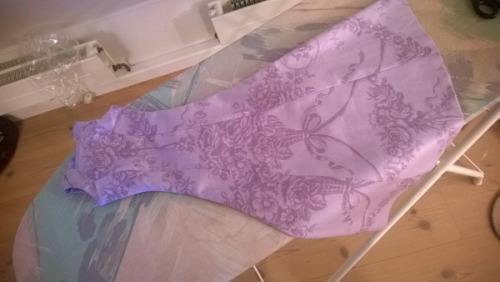
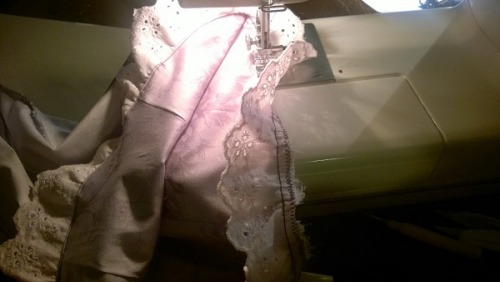
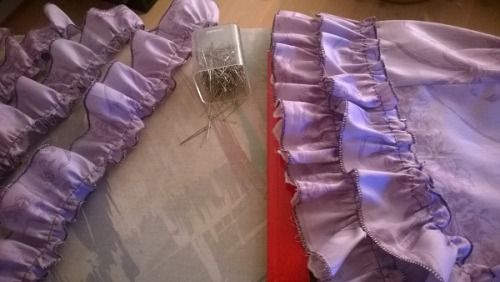
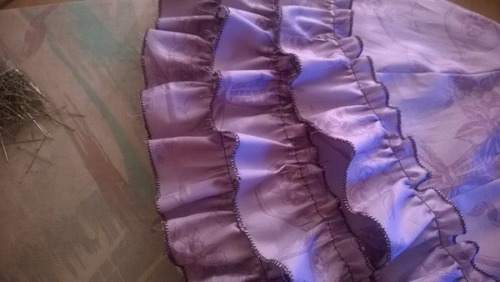
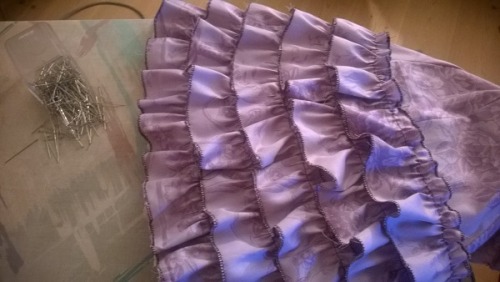
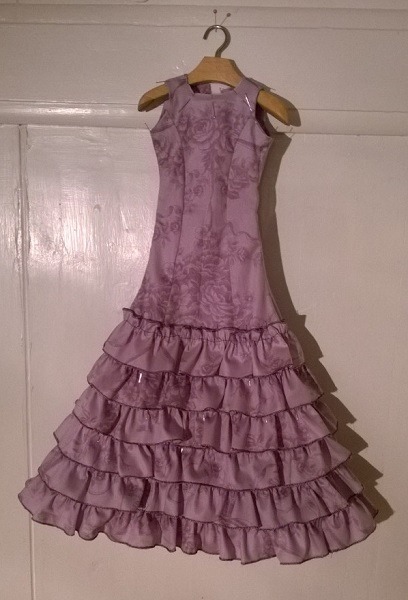
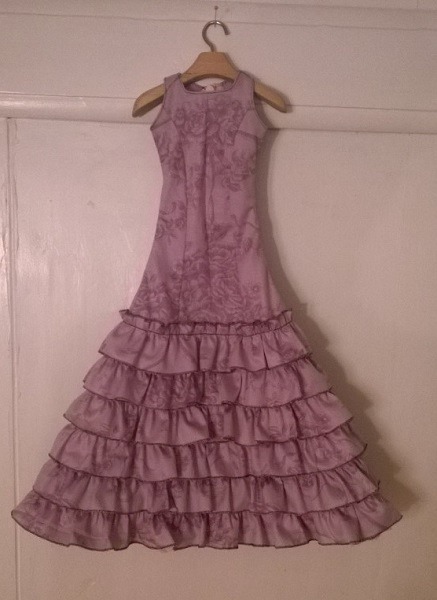
  • Sew another wedding dress, because, why not? Have the most perfect fabric laying around for the purpose
Liam
  • Finish his dress from last year
  • Get a pair of brown urethane eyes from Vings home for him
  • Get him more hh-shoes
Nathaniel
  • Sew him a new set of gothic clothing
  • Get him a pair of urethane eyes from Vings most likely
Draco
  • Sew mediwizards robes
  • Sew formal robes
  • Get a suit from FreedomTeller along with shoes
Matthew
  • Get a pair of red-brown urethane eyes from DollShe
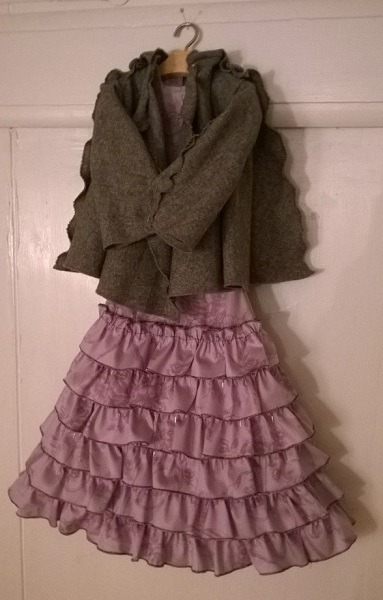
  • Sew either a blazer jacket or a waistcoat to match the wedding dress of Riku's
  • Sew some casual clothing
Ayden
  • Get brown urethane eyes
  • Buy a suit from FreedomTeller along with shoes
Sasha
  • More clothing
  • Shoes
  • Add a couple freckles to that pale face
Dmitri
  • More clothing
  • Shoes
  • Add a couple freckles to that pale face
Darren
  • More clothing
  • Shoes
Ayumu
  • More clothing
  • Shoes
Alexander
  • Finish all his facial modifications
  • Paint him
  • Sew some Elven robes
  • Make a pair of shoes
  • Get a wig
Joshua
  • More clothing
  • Shoes
  • Get a pair of urethane eyes
Michel
  • More clothing
  • Shoes
Etienne
  • Sew a proper set of clothing
  • Shoes
Minoru
  • Paint him
  • More clothing
  • Shoes
Ethan
  • More clothing
  • Shoes
Oliver
  • More clothing
  • Shoes
Shaun
  • More clothing
  • Shoes
Marcus
  • Get him a body
  • Sew him some clothing
  • Get him a wig
  • Get him a pair of eyes
  • Shoes
Oleander
  • Sew a spring, summer, and winter outfit
  • Make some shoes for him
Bastian
  • Either do something about his current wig or get a new one
Tristan
  • Sew him a set of clothing
  • Shoes
Victor
  • More clothing
  • More shoes
Silas
  • More clothing
  • More shoes
Xander
  • Get a pair of urethane eyes
  • Paint him
  • Sew some Fairy-Kei clothing
  • Shoes
Mo
  • More clothing
  • more shoes
Elliott
  • Paint him
  • More clothing
  • More shoes
Jesse
  • More clothing
  • More shoes
Taffy
  • More colourful clothing
  • More shoes
Pitch
  • Sew him his robe and trousers
  • Make his scythe
  • Perhaps a re-paint
  • Do something with his wig or make one 
Lucas
  • Sew more clothing
  • More shoes
Huang
  • Sew more clothing
  • Get him some shoes
Jamie
  • Sew him more clothing
  • Get him some shoes
Zacharias
  • Sew more clothing
  • Get him some shoes
Min-ho
  • Sew a proper set of clothing
  • Shoes
  • Perhaps a re-paint would be in order
Fabian
  • Sew him more clothing
Bernard
  • Sew him more clothing
Danny
  • Paint him
  • Sew him some gothic attire
  • Get him some shoes
Kean
  • Formal clothing
  • More shoes
Gilbert
  • Sew him a jumpsuit
  • Sew little bloomers
Pino
  • Paint him
  • Sew him some clothing
  • Get him a wig
Guiliano
  • Get a pair of urethane eyes
  • More clothing
  • Shoes
Cody
  • Get him more shoes
  • Sew some more clothing in general
Derek
  • Get him something Mori-kei clothing of sorts
  • Body blush and add some freckles on that pale body
Kenny
  • Make him a little chemist set
Luke
  • Sew a jumpsuit
  • Sew little bloomers
Harry
  • Sew him Auror robes
  • Paint him
  • Sew formal robes
  • Get a suit from FreedomTeller
Merida
  • Sew her dress
  • Make her bow and arrows
  • Sew her some traditional Scottish mens wear with a modern twist to it 
Toby
  • Get him some shoes
  • More clothing
Hiccup
  • Paint him
  • Sew his leather clothing
  • Make his peg leg
Evan
  • Get him a body, SpiritDoll Elegance
  • Paint him
  • Sew him some Elven robes
Karim
  • Get a pair of urethane eyes
  • Paint him
  • Modify his chest and sculpt him a penis of brown apoxie clay
  • Sew him Yemeni mens traditional clothing along with making him a daggar
Kaleb
  • Get his body, a SpiritDoll Proud body
  • Get him a wig
  • Paint him
  • Sew him some clothing
  • Get a pair of urethane eyes
Jack Frost
  • Get him home! He'll be a DollFamily-A Wen on their type 4  body
  • Sew him his clothing
  • Make his staff
  • Paint that purdy face
I know much of it is the same, but there will be plenty of variation in any case. I also have a sofa bed I want to make for them, have the foam and everything home for it. Would also like to get an airbrush home if I have the money at my disposal. But well, we'll see wont we.

2015/12/26

SD sized fer-dress and jacket

I know I had other plans for this fabric already, but seen as I didn’t have funds at the ready to bring home another 3-4 yards I thought why not sew another fer dress? Made one back in late ‘11 and, to be honest, while it does look good, isn’t really up to par.


As with any piece of clothing you start off with making a pattern and pin it to your fabric.


I know that the side pieces are a bit too long but that will be adjusted once they are sown together. 


To keep everything in order I put all the front and back pieces together with needles, also a great way to see how it will get to look all stitched together.


Getting those sewn together you can really get to admire the pattern. Had I had more that one yard to do with I would really have done everything I could to have the pattern be on point consistent. BUt this isn't all that bad either when half of the bottom of it will be covered up by ruffles anyhow.


Here I am adding, what would that even be called, well, a piece of fabric at the top of the dress, here sewing around the arm opening. Afterwards I would sew the shoulders for to then able folding that piece of added fabric to make some clean arm openings. I hope this makes some kind of sense >>


Anyway, that done this is the result. The collar still needed to be closed up and all of the edges inside the dress needed hemming along with the bottom of the dress. Then ruffles needed to be made and attached, a zip to be sown at the back of the dress, the collar to be closed up, and an a-line tulle skirt to help keep the shape of the dress some.

Sadly I have no progress of this one, but I wanted there to be a jacket of sorts. Something looking like the one going with the original fer dress. Didn't really stick to that as it soon took on a life of it's own.


Everything is made from an old second hand woolen skirt. The hood from the waist part of the dress and everything else was the skirt part. I didn't use any patterns but what my head could conjure when I cut the fabric. I once saw to fit the main part of the jacket and once for the hood, else not. I'm amazed how it turned out really.


So, the seams on the inside of the dress needed hemming which was the first thing I did sitting down in front of the machine.


Thought adding some lace at the bottom of the dress would be a neat little detail even though it would end up being covered by ruffles.


All them pretty ruffles, one dayer after the other..


Until almost finished. Didn’t have near enough from the ruffles I had already made but had some spare fabric and everything worked out in the end.


And it got to look a little bit like this. The arm holes and collar had yet to be sown shut and it needed a zipper in the back.


And one to see how it would look with the wool jacket on top which here still needed a snap attached and some ribbon at the hood to be able closing it up some. Absolutely amazing if you ask me!


Having sown the ruffles onto the skirt along with adding the zipper in the back and closing the collar and armholes it got to look like this


And the tulle petticoat which I have no progress pictures of as it was made on a whim.


And everything ready for the morning where I hope the weather will allow for me to go outside and shoot up a couple pictures showing all of this off properly. I can't believe I actually made this, I'm amazed at my own skill and how I've improved, totally wowing myself.
Anyway, this adventure took me some 25-30+ hours to put together in it's entirety. Hope you enjoyed!

2015/12/11

I should be prioritising getting those trousers of Fabians sewn together and finished, right? I should actually be at least working on sewing them together at all at the moment, yeah?

WRONG!

I need to do this instead!


Like of course, I have to abandon the other sewing project for this, only natural, right? So, here it is, me, getting the utter brilliant idea of making another fer dress as the one I made some 3-4 years prior wasn’t really up to par. Sure, start another sewing project while you’re at it, one that isn’t something you’d finish up while drinking your afternoon tea.

I guess I just love piling one project on top of the other.

I’m brilliant like that.

Yes.

2015/12/09

This must have been sheer luck!

So, after my dye job gone way wrong I had to remove it again. thought I could just simply rub it off as I didn’t much fancy leaving the resin soaking in acetone, but after only getting this far in about half an hour I gave in.


Slowly getting somewhere alternating between soaking and drying it off


Until I had the desired colour. Here with the headcap to demonstrate the difference in colour. It’s a bit more on the orange side though, but if light does this in photographs I won’t complain!


So onto the body, letting one part soak while drying of another


And all the while trying to get as close as possible to the desired colour.


Until finally I could go wash all of the parts in clean water and lay them out to dry. Turned out I was getting a tan Soom Necy afterall! Though I wont call it tan, I'd call it Honey Glow based on it being more orange irl.

2015/12/02

Let’s make something Mori-kei inspired! - Take 5

Today it’s all about the shirt and waistcoat as I didn’t at all get around to touching the trousers, but hey, there’s always another tomorrow.


As with any shirt you always sew the shoulders first and decided to close the edges up to keep them from running.

From there it was smooth sailing getting the sleeves added.


Got to be as I had imagined, with a fair amount of puff to them.

The hem of the sleeves I hadn’t made long enough to be able adding little ‘runways’ while still having part of the sleeve sticking out. Had to get a bit creative there and that I did with a bit of lace


Checking that the length wat ay-okay it could all be sewn shut and he could try it on.

Added lace around the collar to be held up by some wide satin ribbon which will also be used around the cuffs on the shirt. Have yet to sew the ribbon onto the cuffs but that will be done while I also add snaps down the front of the shirt.

The waistcoat I didn’t get around to shoot as many pictures of of the progress itself. Was getting tired and hungry so taking pictures wasn’t the first thought running through my mind.
I found some fabric I believe to be thai silk with some lovely flowery embroidery in this nice dark green colour for the lining. Found it to go pretty well with the deep purple/plum of the waistcoat.


Had sewn the armpit holes shut here thus the weird shape. To hide away the seams I sewed them together right against right to have them be on the inside when turn right side out as can be seen in the picture underneath.

And yeah, didn’t document the rest, added some ribbon at the edges of the waistcoat and done.


The inside of the waistcoat. Sure, could have been done better, but I haven’t sown a whole lot of them so still need to finetune my skill there.

And a bonus, because he just sat there looking mighty impatient. My little Prince in white ♥


Up next; ¾ trousers. Stay tuned!

2015/12/01

Let’s make something Mori-kei inspired! - Take 4

This 4th installment is all about getting the nightdress put together along with the underwear.


I started off by making the chemise and as good as my intentions were to shoot pictures of the entire progress it died as I was halfway done sewing it together. But I can talk about it some more later, on to the bloomers!

Made these in one piece for each leg instead of having to cut out four pieces as you usually do. Worked for me and you don’t have to do all that extra sewing nor are there seam lines down the outer part of the leg. Made little ‘runways’ for the elastic in both the waist and legs though it isn’t pictured above.

The bloomers where you can see the ‘runway’ where the elastic band is hidden and leaving enough room for there to also be a bit of ruffle at top and at the hem of the legs. The chemise I had thought to be big enough to let his arms and head through just fine, but was I wrong. Had to cut an opening down the back and the lace used for the straps here came in handy to make for some neat decor on the back along with closing it up with a bow


The nightdress, though I didn’t get a whole lot of pictures of this one either, took forever. Could perhaps have sewn the two front and back pieces together differently instead of sewing the two together to sew them onto each other afterwards. But done is done. Also had to add runways to the sleeves here as the fabric was too thin for the sewing machine to be able grabbing a hold of it along with the elastic.

Here the little guy is sitting with his almost finished nightdress, just a single row of ruffles to go and a snap in the back and lookit! All dolled up and ready for snoozytimes.

Up next; Waistcoat, shirt, trousers and socks! Stay tuned!

BO: DikaDoll Pan NS